mirror of
https://github.com/bugsink/bugsink.git
synced 2025-12-30 18:00:17 -06:00
rather than try-and-recover, just look at the headers and show body/POST etc.
this avoids hard-to-reason about situations where either of those won't work
because the other has already been executed; in combination with reasoning
about max size usage the explicit solution is simply easier to reason about.

further:

* makes api_catch_all one of the content_encoding-ready views.
* implement a max length for the ingest api view
Bugsink: Self-hosted Error Tracking
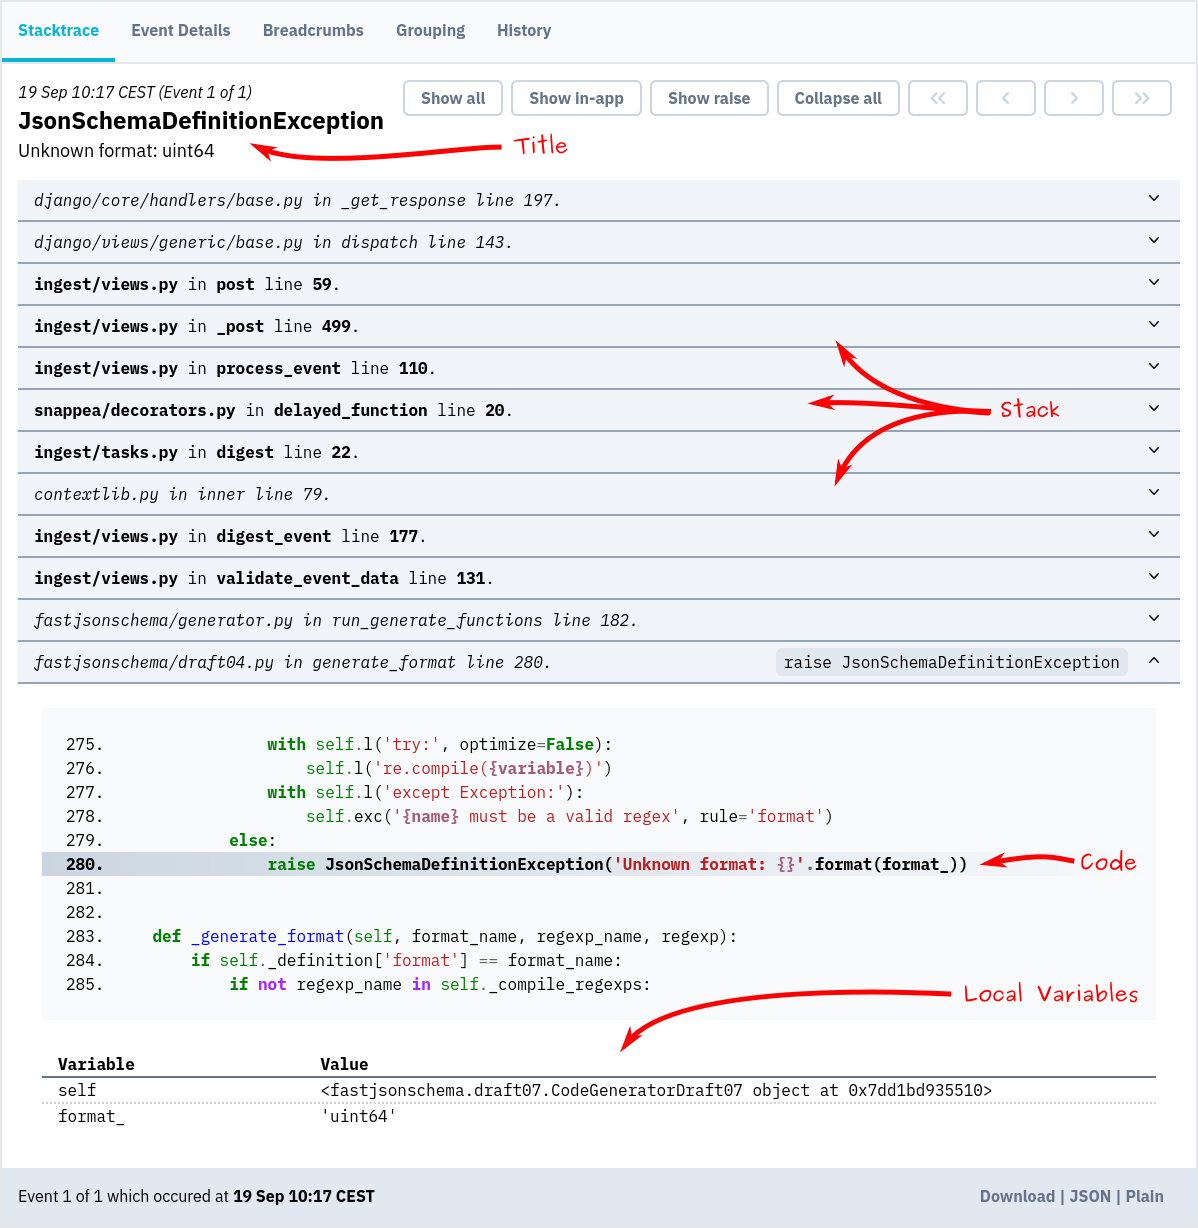
Screenshot
Installation & docs
The quickest way to evaluate Bugsink is to spin up a throw-away instance using Docker:
docker pull bugsink/bugsink:latest

docker run \
  -e SECRET_KEY=PUT_AN_ACTUAL_RANDOM_SECRET_HERE_OF_AT_LEAST_50_CHARS \
  -e CREATE_SUPERUSER=admin:admin \
  -e PORT=8000 \
  -p 8000:8000 \
  bugsink/bugsink
Visit http://localhost:8000/, where you'll see a login screen. The default username and password
are admin.
Now, you can set up your first project and start tracking errors.
Detailed installation instructions are on the Bugsink website.